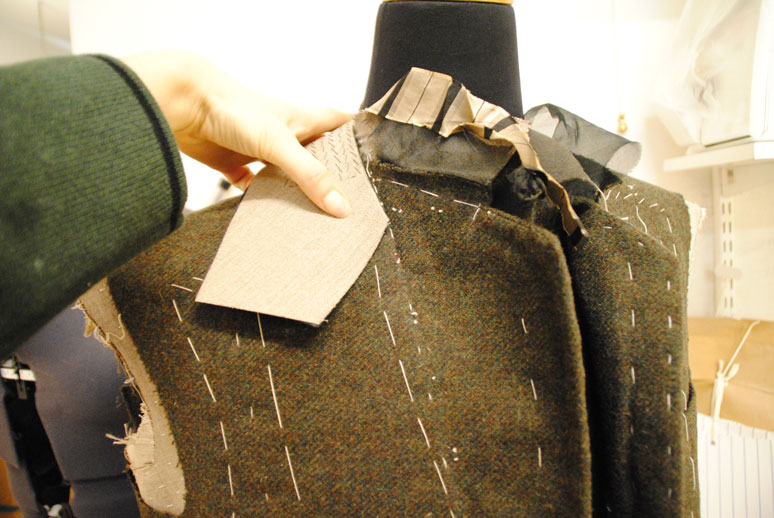
When mounting the collar it is crucial to get the roll line curve perfect to be able to get the roll line right. This saves you so much time and angst! I did a little picture demonstrating how to press the under collar to get a good fit.
When pressing the collar you first of all press it flat after the padding. The padding is what makes the lapels rounded, not flat. The canvas and outer layer is fused together in the padding holding the lapel rounded while stitching making the canvas roll over the outer layer which becomes smaller. This maked the lapels and collar roll for eternity since the shape is sewn into the garment. The collar is also pad stitched to give it shape and then pressed flat. After that you press extra shape in the collar stand and collar. When doing this the roll line will be affected.
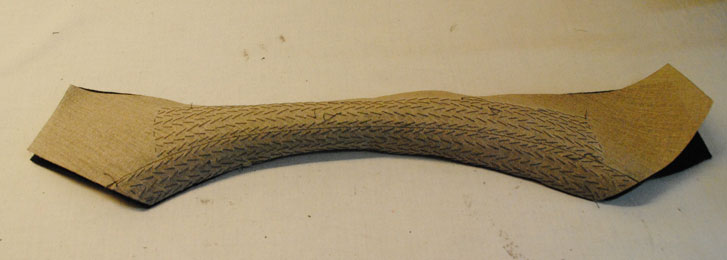
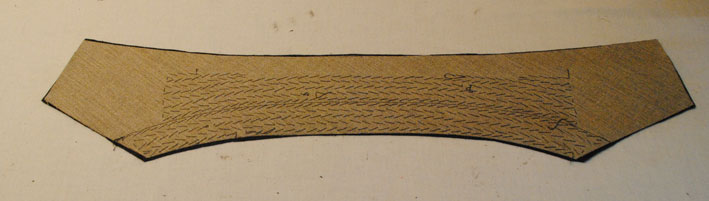
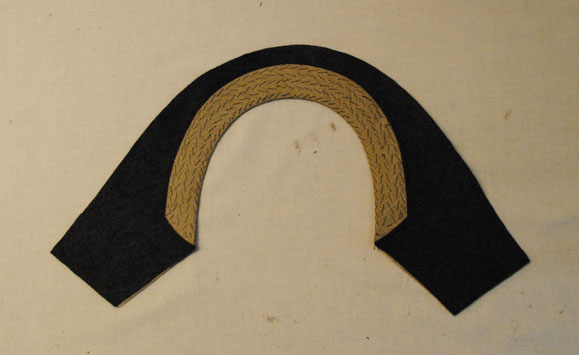
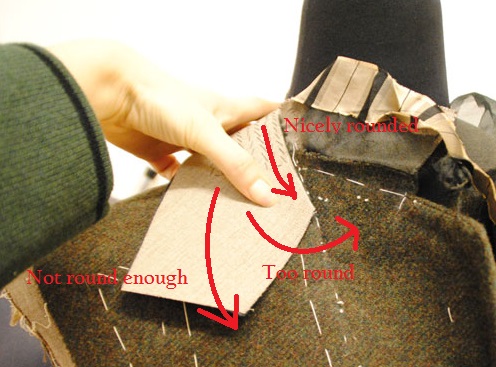
When pressing too much width in it will be to round and go over the lapels roll line. Too little shape the curve will be to small to fit and will stand up if you try to force it in. When it is right it will be nicely curved as the middle picture and follow the roll line smoothly when following the line from center back to lapel. The first picture with arrows demonstrate how the diffrent curves affect the roll line,
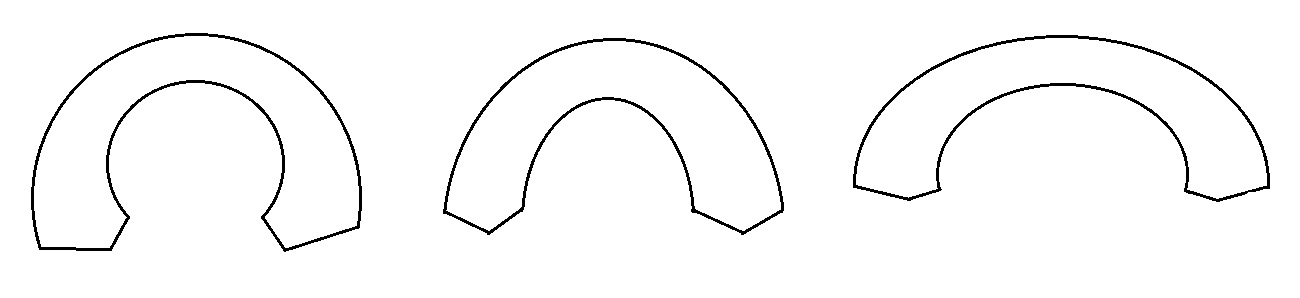
Middle collar – nicely curved
Lastt collar – not round enough
Check before mounting that the collar has the desired roll shape. After the two roll lines are meeting nicely it’s time to get the perfect roll.
The trick to this is getting the gorge right (after the two meeting roll lines!), the point where the collar is attached to the lapel forming the notch. This little point really makes all the difference to where the roll line will roll! Lift the lapel gorge to lover the roll point and give it an ease to decrease the roll point. Continue until the roll line meets the first button mark. Check with hand over the roll line that it actually rolls right. Check both sides to see they roll to the same spot.
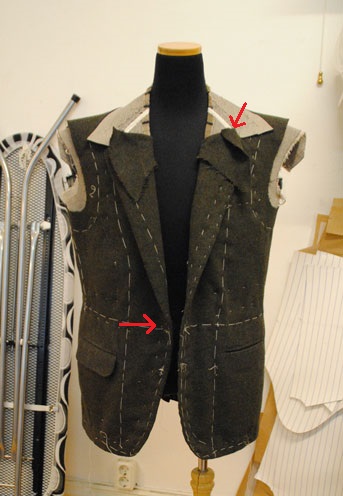
Lower arrow – roll line meeting point.
Leave a Reply
You must be logged in to post a comment.